How Long Does Hardwood Installation Take?
Most homeowners underestimate how long a hardwood installation takes. They think of "the installation" as the day the crew lays the boards. But that's just one phase. The real timeline stretches from the first phone call to the final walk-through, and it includes measuring, acclimation, demolition, subfloor repair, the actual installation, and trim work.
A typical installation in a 500-square-foot area might span two to three weeks from start to finish. A whole-house project can stretch longer. The timeline depends on square footage, room complexity, whether subfloor repairs are needed, and whether the house is occupied during the work.
Understanding the phases helps you plan around the disruption and understand why rush jobs are expensive and risky.
Measuring, ordering, and confirming availability
Before anything is scheduled, the space is measured and the product is selected. This takes one to two weeks typically. You're deciding on species, width, length, finish, and color. Your contractor is confirming availability and lead times with suppliers.
This phase matters because getting the wrong width or finish type means delays. Accessories—reducers, threshold trim, coordinating underlayment—need to match. Custom trim like bullnose stair nosings or site-finished borders can add lead time if they're not in stock.
If you're coordinating with other trades (tile, carpet, interior paint), this is when sequencing is planned. Hardwood usually comes after major demolition and paint but before final trim and cleanup.
A clear timeline at this stage prevents surprises later. Ask for a specific "ready to start" date, not a range.
Acclimation and moisture testing
Once the material arrives, acclimation begins. The boxes are opened and the hardwood is placed flat in the room where it will be installed. The house is maintained at normal living conditions—typically 65 to 75 degrees and 40 to 50 percent relative humidity (or whatever range is specified for your product).
Acclimation can take anywhere from five to seven days for thin engineered products to two to three weeks for thick solid hardwood, depending on the starting moisture content and the climate you're acclimating into.
Moisture is verified with readings taken at the start of acclimation and a few days before installation. The wood and the subfloor should be within 2 percent in moisture content.
During acclimation, the HVAC system should run normally. Don't turn it off to save energy or open windows during wet weather to cool the house. Stable conditions, not changing conditions, are what's needed.
If the house hasn't reached stable humidity yet—which is common in newly built homes or homes that have been vacant—acclimation can extend. It's better to extend acclimation than to rush the floor into unstable conditions.
Demolition and site prep
Removing the old floor takes one to three days for carpet or laminate, longer for hardwood. Tack strips, staples, and old underlayment are removed and disposed of. Adjacent surfaces are protected with dust barriers. Site prep includes clearing furniture, protecting adjoining rooms, and establishing a clean work entry point. Good site prep keeps the rest of the house livable.
Subfloor inspection, testing, and repair
This is where timelines vary most. If the subfloor is sound, dry, and flat, the team moves to installation in one to two days. If problems exist, the timeline extends for squeaks, sanding high spots, filling low spots, replacing rotted panels, and addressing moisture sources. Some jobs need an hour; others need several days. A pre-construction walkthrough should identify major issues, but problems sometimes only appear once the old floor is removed, making realistic estimates difficult without knowing specific conditions.
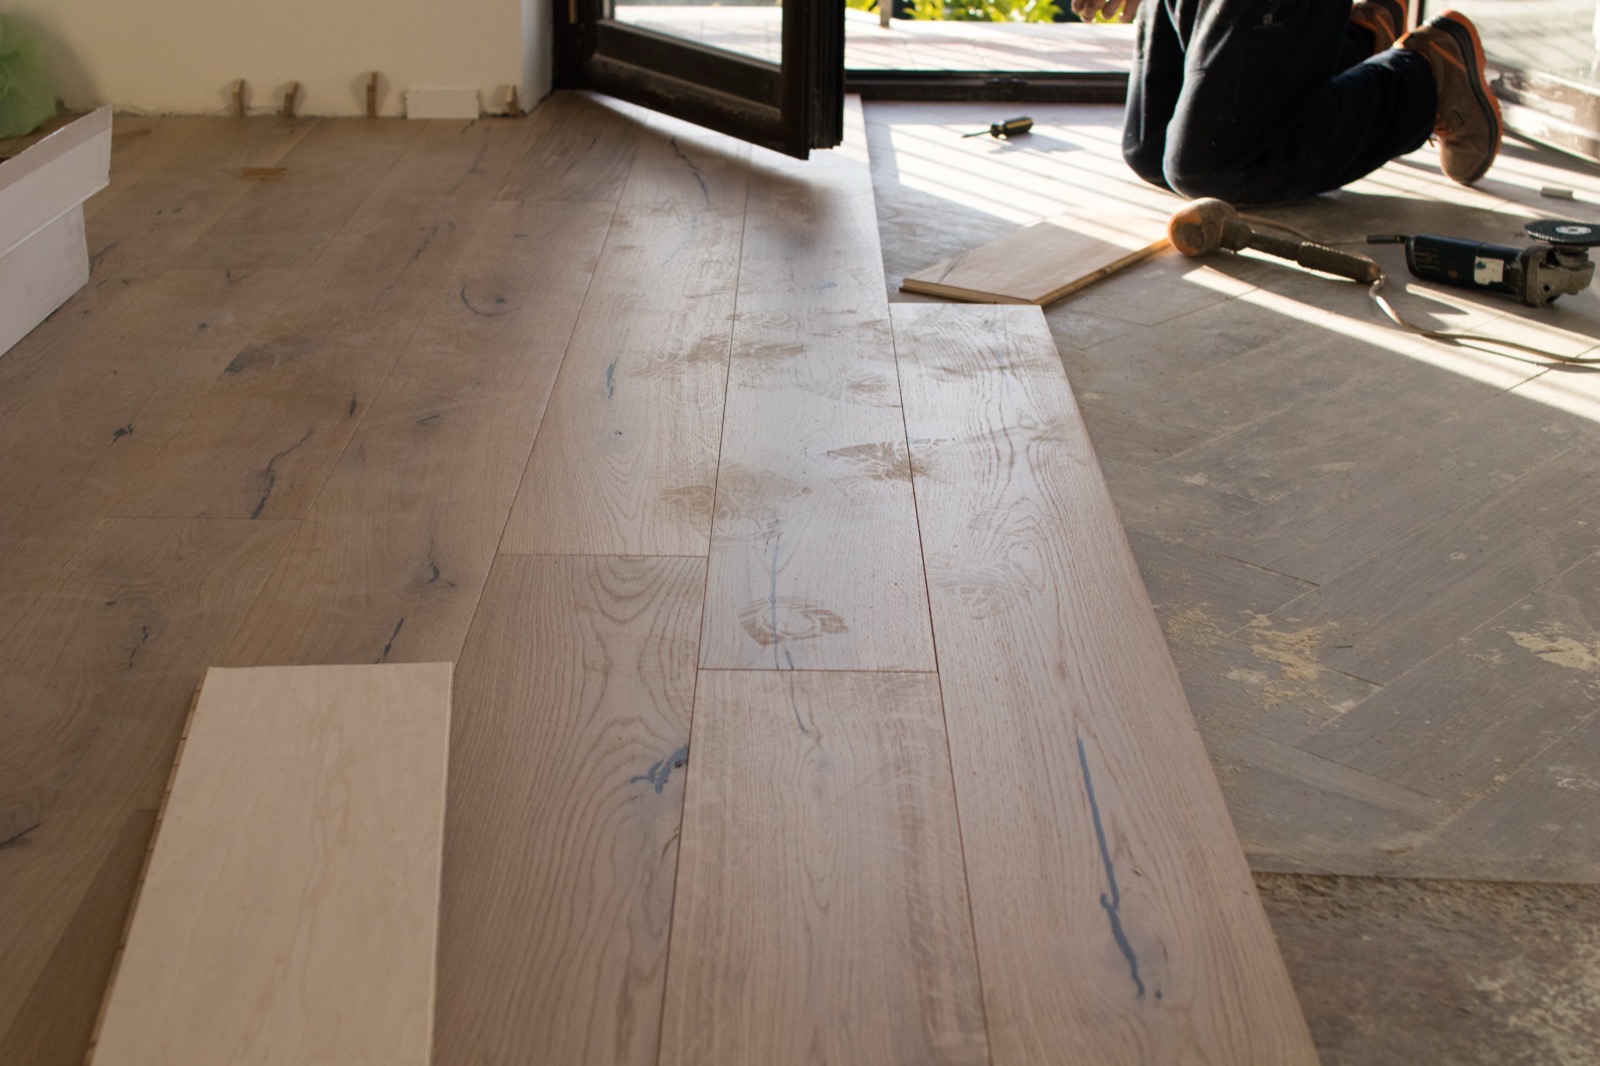
The installation phase
The actual hardwood installation—layout, underlayment application, board installation, and first-pass trim—typically takes two to four days, depending on square footage, product type, and layout complexity.
Simple layouts with few cuts and transitions go faster. Complex layouts with diagonal directions, borders, multiple transitions, and intricate seam planning take longer.
Hallways, closets, and areas around islands slow progress because each cut has to be precise. Wide-open rooms move faster because layout is simpler.
The crew should include at least two people, sometimes three. Single-person installation is very slow.
Rolling or weighting the floor to seat boards properly is part of this phase. Proper seating takes time and care; rushing it leads to gaps and movement later.
Trim, underlayment, and finishing details
After boards are installed, trim work begins: baseboards are replaced or removed, quarter-round or shoe molding is installed, threshold trim is fitted, and staircase details are completed. For prefinished floors, quality trim work takes one day in smaller projects or two to three days for whole houses. If site-finished stain or polyurethane is involved, curing time adds a week minimum.
Final walk-through and punch list
A final inspection confirms everything is complete. The floor is cleaned thoroughly. Any squeaks are identified and corrected. Gaps are measured to confirm they're within acceptable range. Transitions are checked. Stairs are tested for movement.
A punch list captures any small corrections: a nail pop to refasten, a trim piece to adjust, a seam to inspect. These are completed before final payment.
The walk-through itself takes a couple of hours. Corrections are usually done the same day or within one to two days.
When the house is occupied during installation
If you're living in the home, timeline expectations change. The crew works around your schedule, and dust containment becomes critical. Discuss phasing: can they start in one area and contain it while other spaces remain livable? How many days will the main living area be disrupted? Occupied homes take slightly longer due to logistical coordination, making careful pre-construction planning essential.
Sample timeline
- Week 1: Material selection, ordering, measuring. Start of acclimation once material arrives late in the week.
- Week 2: Acclimation continues. Subfloor inspection and moisture testing early in the week. Demolition and site prep mid-week if everything checks out.
- Week 3: Subfloor repair (if needed). Installation begins late in the week, or early the following week if repair is extensive.
- Week 4: Installation continues and completes. Trim work and detail completion.
- Week 5: Final walk-through and punch-list work.
Not every project follows this exactly. Some are faster; some take longer. A contractor who provides a written schedule with realistic phases sets expectations and reduces surprises.
Planning is the key to a smooth timeline
A hardwood installation is a multi-step process. Rushing any phase—acclimation, subfloor prep, installation technique, trim detail—usually means problems that are expensive and difficult to fix after the fact.
If you're planning hardwood floors in Roseburg, give Back to the Wood Floors a call for an in-home assessment. We'll walk your space, identify any subfloor issues early, and provide a written timeline with realistic start and completion dates. That planning prevents the chaos that comes from guessing.
Ready to transform your floors? Back to the Wood Floors has been serving Douglas County since 1990.
Get a Free Quote See Our Work