Why Hardwood Stairs Are Harder to Get Right
Stairs take more abuse than any other part of your home. Every step is a small impact. The nosing—the exposed front edge of the tread—flexes with each footfall. The underside of the stair absorbs vibration. Seasonal moisture shifts cause wood to move in multiple directions at once.
And the stakes are higher. A squeak in hardwood flooring is annoying. A squeak in stairs is a warning sign. A loose tread is a safety hazard. A gap that opens up over time isn't just a cosmetic issue; it can trap debris or a heel.
Installing hardwood on stairs demands more precision, more fastening, and more attention to detail than installing it on flat floors. Most of what makes stairs difficult comes before the hardwood is laid.
What makes stairs different from flat floors
Flat hardwood rests on a stable substrate and expands and contracts mostly side to side. Stairs are cantilevered or supported by stringers. Each tread experiences downward impact, and the treads rock slightly on their supporting structure with every step.
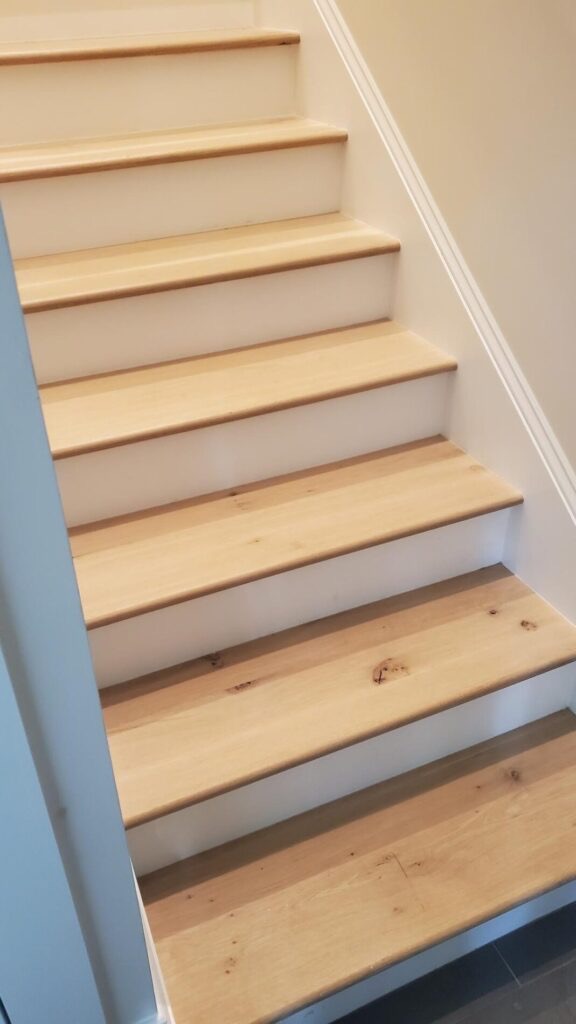
The nosing—the front edge of the tread that overhang the riser below—takes the most abuse. If it's not secured properly and the substrate isn't reinforced, the nosing will develop squeaks or, worse, separation where it meets the riser.
Stairs involve multiple components: treads, risers, stringers, landings, and skirt boards. Each component has to connect tightly to the others, with appropriate fastening and finish details. A gap that opens up in one of these connections is immediately visible and sounds loose.
Code also matters. Building codes specify riser height (usually between 7 and 8 inches), tread depth (10 to 11 inches), and nosing projection. The hardwood installation has to work within these constraints. You can't adjust the stair geometry to match the wood; the wood has to fit the stair.
Prep work that prevents squeaks and movement
Before any hardwood goes on a stair, the underlying stair structure should be checked for deflection and movement. Listen for squeaks with your foot. Feel for flex at the center of the tread and at the nosing. If the stair already moves, new hardwood won't fix it.
Existing treads should be re-fastened. If the original fastening was done with nails, re-fastening with screws and high-quality construction adhesive reduces movement. The fasteners go through the subfloor into the stringers, not just into a loose covering.
The stringer should be checked for straightness and structural integrity. A bowed or compromised stringer will cause the finished tread to rock, no matter how well the hardwood is installed. Sometimes bracing or reinforcement is needed before the new tread goes down.
Squeaks from below should be eliminated from underneath, not covered up with the new material. This might mean accessing the underside of the stairs from a basement or crawlspace and driving wedges, adding blocking, or fastening loose areas.
The landing at the top and bottom of the stairs should be part of the preparation. If the landing isn't solid and flat, the transition from landing to stair will feel loose, and gaps will develop.
Installation methods that minimize movement
Hardwood on stairs isn't fastened the way flat flooring is. Instead of relying on fasteners alone, the best stair installations combine high-quality construction adhesive with carefully placed fasteners.
The adhesive goes on the stringer and the tread substrate. The fasteners (usually screws or ring-shank nails) are driven from the back side of the tread or through the skirt board so fastener heads aren't visible. The combination of adhesive and fasteners holds the tread in place and prevents the rocking that causes squeaks.
Fastener placement matters. Fasteners should be near the back of the tread, well behind the nosing, and placed so they don't split the wood. Spacing is typically 8 to 10 inches along the stringer.
Some installations use a glue-assist method where the fastener pattern is looser, and adhesive carries more of the load. This works well if the substrate is solid and the adhesive is applied consistently. It requires skill to execute correctly.
Finish details that keep stairs looking built-in
Mitered returns at the nosing—where the hardwood wraps around the edge in a continuous grain pattern—look custom and finish the edge cleanly. This requires precise cuts and is labor-intensive but elevates the whole installation.
Skirt boards (the vertical boards that cover the edge of the stringer or subfloor at the side of the stairs) should be fitted tightly with consistent reveals (the distance between the skirt and the tread edge). The finish and stain should match the treads.
The transition from the landing to the stair should be seamless. If the landing is the same hardwood material, it should look like one continuous floor, not a separate element. This requires precise fitting at the threshold.
Risers can be open (just the treads, no vertical covers) or closed (with vertical hardwood or other material between the treads). Closed risers require careful sizing to code and precise seaming to avoid gaps.
The underside of an open-riser staircase is visible from below, which is why underneath prep is critical. A clean, well-reinforced staircase that doesn't move makes the finished look appear effortless.
Transitions at the top and bottom
A reducer—a transitional piece that slopes from the staircase landing to the adjacent floor—handles height differences gracefully and prevents trip hazards. The starting tread might have a bullnose profile (rounded edge) instead of a sharp corner for safety. The ending tread transitions flush to the landing with a tight, level seam. These details are what separate professional-looking staircases from cobbled-together ones.
Living with the installation and what to expect
A newly installed hardwood staircase should be silent. If you hear creaks, report them during the final walk-through. Small adjustments to fastening or adhesive can fix creaks that appear in the first few weeks.
Over time, some seasonal movement in stairs is normal. Seasonal gaps that open and close are less concerning than permanent gaps or increasing movement. Hardwood reacts to humidity changes, and stairs, with their complex structure, might show more seasonal movement than flat floors.
Annual inspection for loose fasteners or gaps in transitions is worth the time, especially if the stairs see heavy use.
Getting the stair installation right
Stairs are one of those installations where the difference between good and excellent is often invisible. Nobody looks at a beautiful, quiet staircase and thinks about the quality of the adhesive or the precision of the fastening. But everyone hears a squeaky staircase, and everyone notices a loose nosing.
If you're planning hardwood stairs in Roseburg or Douglas County, Back to the Wood Floors brings stair-specific processes to the job: proper prep, reinforcement where needed, and fastening and adhesive methods that keep stairs quiet and solid for decades. Give us a call to discuss your stair project.
Ready to transform your floors? Back to the Wood Floors has been serving Douglas County since 1990.
Get a Free Quote See Our Work